Verify Your Email Address
Please ensure to verify your email for confirmation. We recommend checking your spam and trash folders as well.

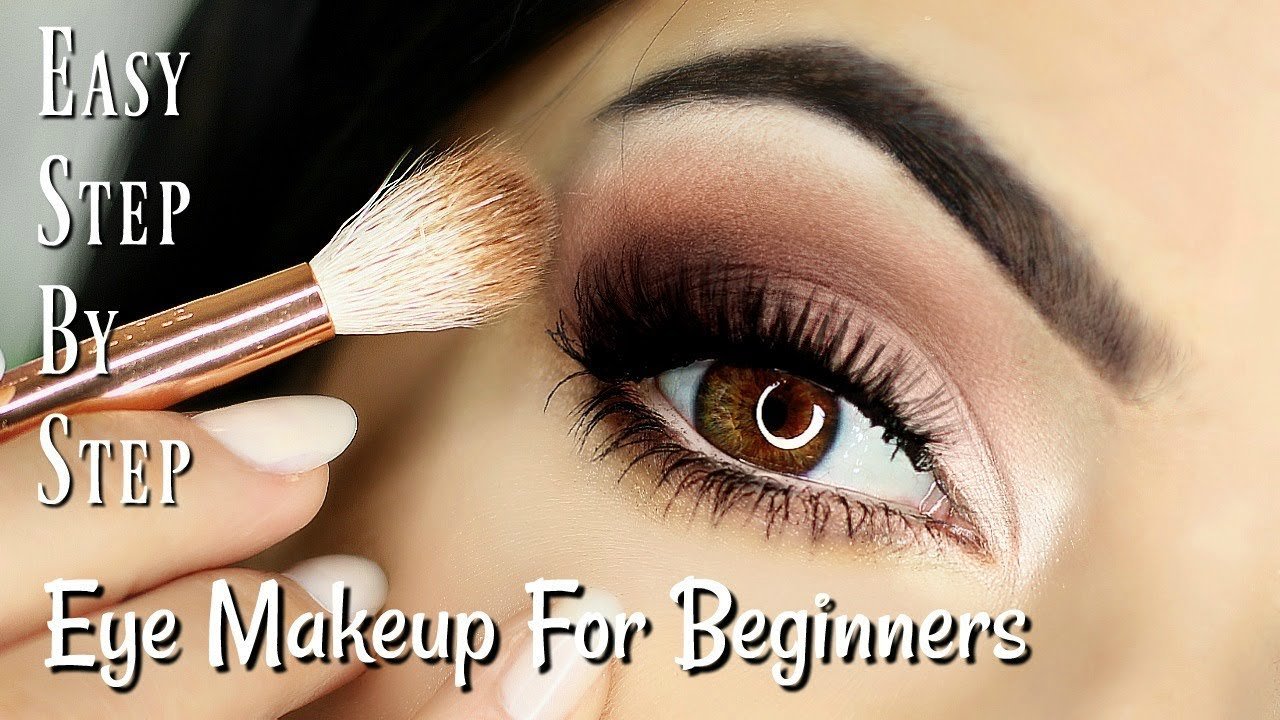
How To Put On Eyeshadow Properly- Eyeshadow is one of the most exciting and versatile cosmetics in your collection. Whether you’re prepping for a night on the town or a special event, or just trying to enhance your everyday makeup routine, knowing how to apply eyeshadow correctly can go a long way.
Putting on eyeshadow can be intimidating for beginners because of all the colors, brushes, and techniques to choose from. But with the proper know-how and a few tools, you can have it all—a polished look that makes your eyes pop. Mastering eyeshadow isn’t all about applying the colours – you also need to know what types of eyeshadow there are and how to blend them.
In this guide, we’ll dissect the entire process of applying eyeshadow, from prepping your eyelids to the final touches. Whether it’s a natural or dramatic look you’re after, these steps will help you to perfect the art of applying eyeshadow. With time, you will learn how to apply eyeshadow like a pro.

There is eyeshadow in powder, cream and stick form, with varying finishes, textures and durability. It’s important to choose the best one for your skin type and what look you want. And the method of application may depend, too, on the finish you’re after — be it matte, shimmer or satin. Selecting the proper tools, such as brushes and applicators, will also factor in a big way as to how long your eyeshadow stays put and how well it combines.
The first step in applying eyeshadow is prepping your eyelids. A good prep ensures that your eyeshadow lasts longer and looks smoother.
The right brushes are key to achieving a smooth and blended eyeshadow look. You’ll need a few basic tools for different parts of the application:
Once your eyelids are prepped and you have your brushes ready, it’s time to apply the eyeshadow.
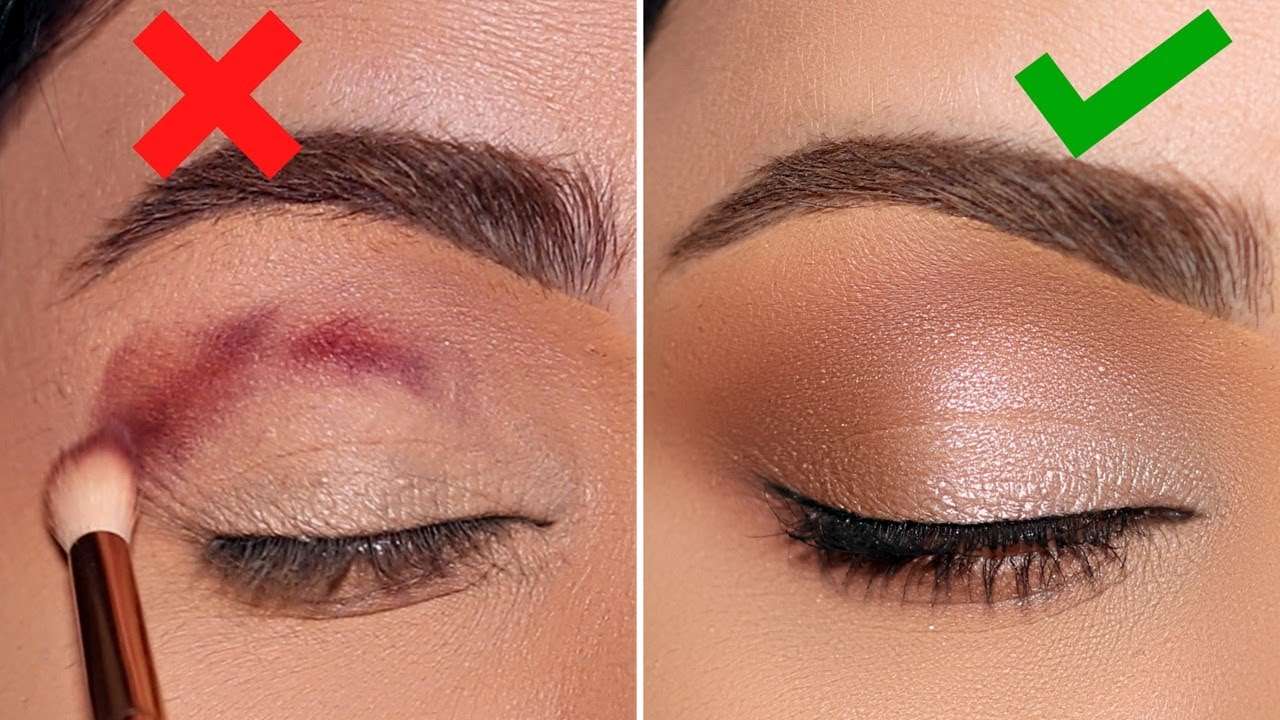
Blending is the most important step in creating a professional-looking eyeshadow look. Without proper blending, the eyeshadow can appear patchy or uneven.
Blend the Edges: Make use of a clear blended brush to lightly buff off any lines of harshness between the different shades of eyeshadow. Check that the line between the eyeshadow color and the color of your crease is seamless and smooth.
Use a Setting Spray: After you’ve completed applying and blending your makeup apply the makeup with the makeup setting spray. It will allow your eyeshadow to keep its position and last for longer during the entire day.
After applying and blending the eyeshadow, it’s time to complete your eye makeup with eyeliner and mascara.

You May Also Read: What is Lip Gloss made Out Of
While eyeshadow application is fun and creative, it’s easy to make mistakes. Here are some common pitfalls to watch out for:
The first time I tried eyeshadows I was overwhelmed with the number of colors as well as types of eyeshadows. At first, I was a mess initially, and I had difficulty blending. Then I realized what is important is perseverance and practicing. Then it became clear to me after I realized that preparing my lids, and using appropriate brushes is just as essential. Also, how blended the look is could make or break an style, and I observed this when blending several shades. I’ve gotten more confident and creativity with regards to the look of my eyeshadows and like to switch between soft and strong appearances. Eye shadows have quickly become one of my favourite aspects of my routine, as I’m able to totally transform the look that my skin has.
The art of applying eyeshadow requires perseverance and practice, however using the correct tools, products and methods, you’ll be able to create amazing eye designs that will enhance your appearance. Apply these tips to blend your eyeshadow with care but most importantly, you should enjoy experimenting with various types. Over time, you’ll be more comfortable applying eyeshadows and creating stunning styles that are suitable for any event.

Please ensure to verify your email for confirmation. We recommend checking your spam and trash folders as well.